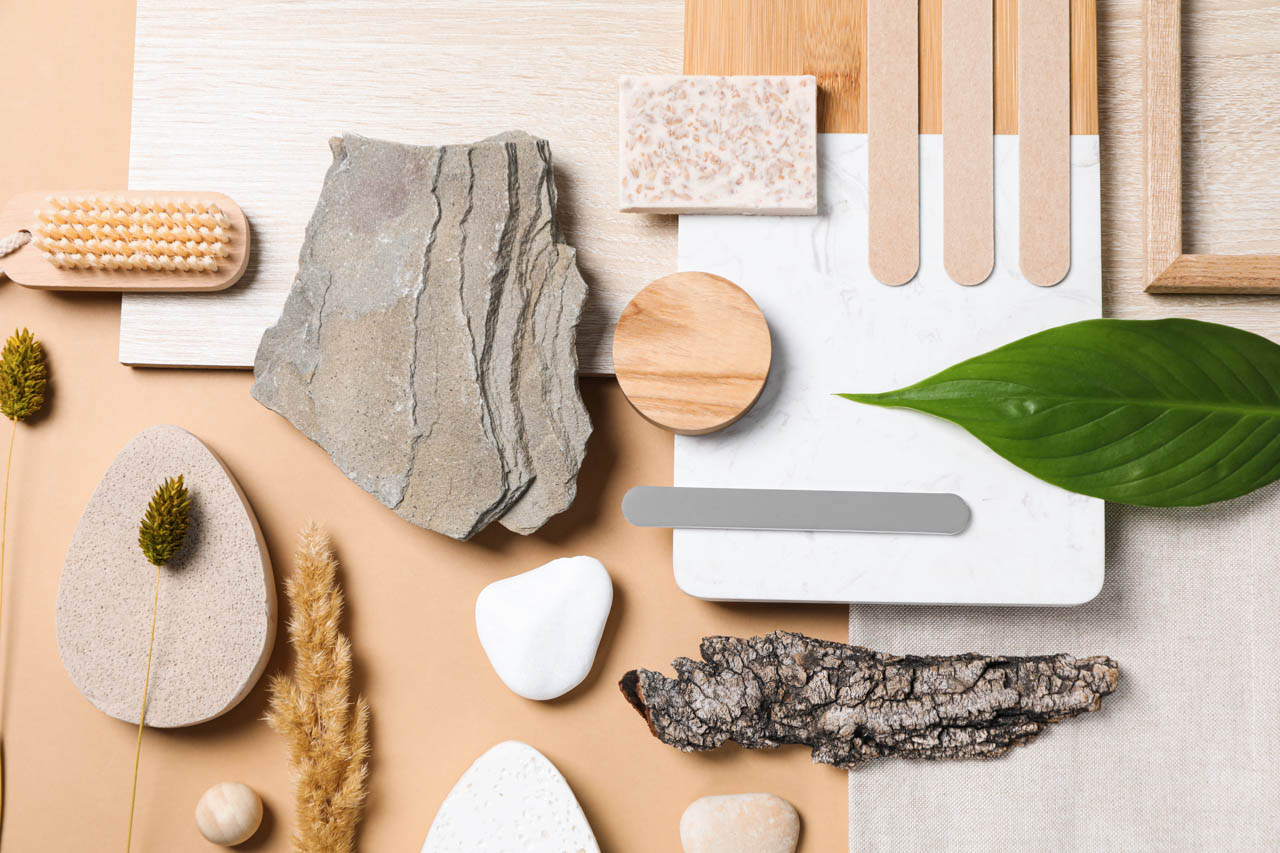
Most homeowners start their homebuilding or renovation journey with a folder full of chaotic screenshots on their phones. We spend hours scrolling through social media, saving gorgeous bedrooms from Europe and sleek kitchens from America, thinking we can easily copy those looks in our own homes. But the moment you try to explain these digital ideas to your local contractor or mason, things quickly get lost in translation. Without a physical reference point, the mason might lay down a grout color that completely clashes with your tiles, or paint a wall a shade that looks beautiful on a backlit phone screen but turns into an aggressive pastel under our intense midday sun. This is what we call the Render versus Reality Trap, and it is one of the most common and expensive ways to ruin a good finishing budget.
Digital screen behaves very differently than actual sunlight. A beautiful 3D computer render or a glossy online photo is illuminated by artificial pixels, which can make materials look warm, seamless, and perfectly uniform. Furthermore, digital screens operate on vastly different color temperatures, display calibrations, and backlighting intensities. A paint shade that appears soft, warm, and inviting on a high-end, color-calibrated designer tablet can easily shift into a cold, clinical, or distorted tone when viewed on an older smartphone, adding a major factor of variation to the actual color difference and physical feel of the product. Once those actual materials are delivered to your dusty local jobsite, the reality of natural light and raw textures sets in. Relying solely on digital screens and verbal promises often leads to color shock, where a paint color that looked like a soft, sandy beige in a render suddenly looks like a bright, chalky peach on your actual exterior firewall. To bridge this gap, you need a physical translation tool that brings your design vision down to earth.

The absolute best way to protect your project is by building a Physical Material Board, which is also known as a tactile sample layout or flatlay. Instead of relying on digital collages, this strategy involves gathering actual, physical samples of the exact finishes you plan to buy. You collect tile cut-offs, timber or wood laminate swatches, real paint dabs brushed onto small pieces of gypsum board, and physical metal hardware samples like brushed brass or matte black handles. By laying these actual materials side-by-side in a small wooden tray or on a piece of plywood, you can see exactly how the colors, textures, and finishes interact with each other before you place a single bulk order.
This physical board acts as an active visual contract between you, your architect, and the site crew. During the busy finishing phase, the jobsite is full of noise, dust, and rapid decisions. When your mason asks you what color of grout to use for the bathroom, or your carpenter wants to know which trim goes on the bedroom door, you do not have to guess or scroll through your phone. You simply point to the material board sitting on the site office table. Having this permanent reference point on-site eliminates miscommunication, keeps everyone on the exact same page, and ensures that your design language is executed with complete precision.
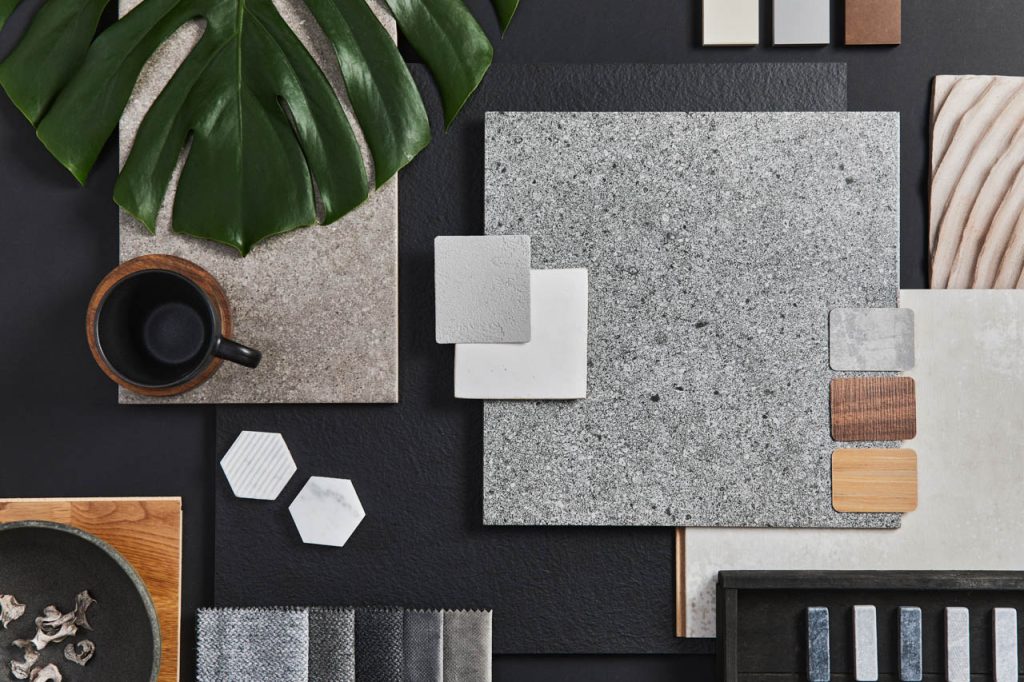
Using a material board is also the smartest way to protect your finishing pocket from costly retoke or back-jobs. In construction, fixing a mistake after the materials are installed is always multiple times more expensive than planning it right the first time. For example, buying a small one-liter sample can of paint to test on a gypsum board costs around 350 pesos. If you realize the color looks too bright under the midday sun, you only lose a small amount. But if you buy a massive sixteen-liter drum of the wrong color and only realize the mistake after the painters have covered your entire facade, repainting will cost you over 6,000 pesos plus the expensive labor and lost time. A physical board is essentially a cheap, highly effective insurance policy for your hard-earned budget.
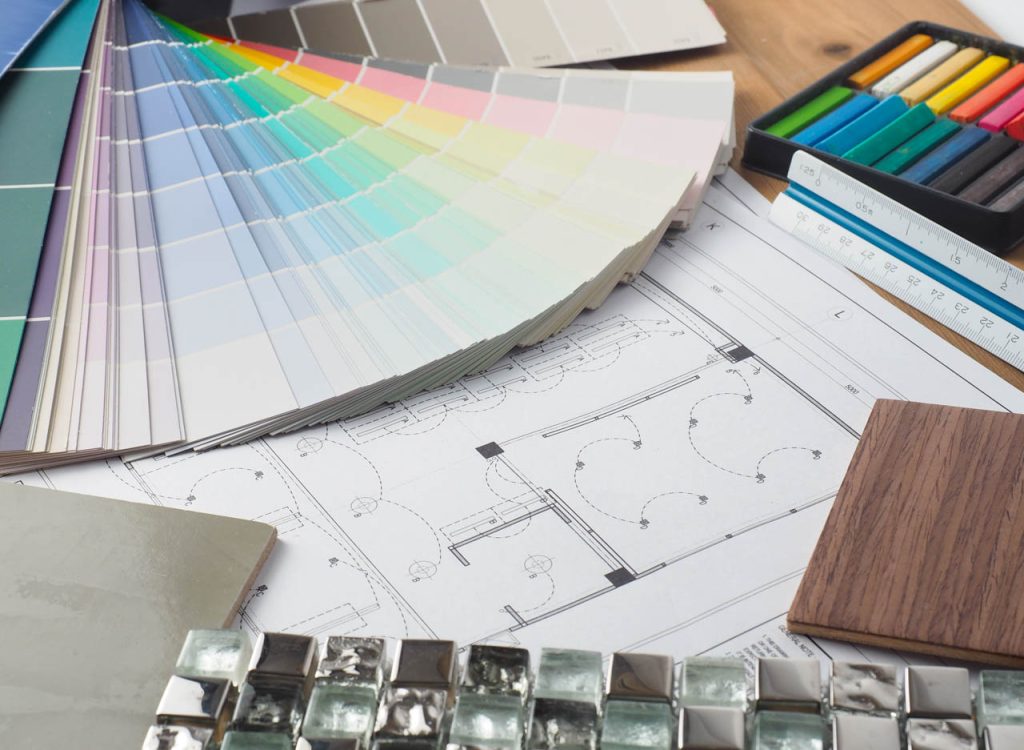
Building your own board is a highly rewarding process that starts during your shopping trips. When you visit local hardware showrooms, do not hesitate to ask the sales representatives for loose material samples or cut-offs. Once you have gathered your swatches, take your board to the actual site and view it under different lighting conditions. Check how the colors look under the bright morning sun, the intense glare of noon, and under warm artificial light at night. This simple exercise ensures that your finishes will look beautiful and harmonious at any hour of the day.
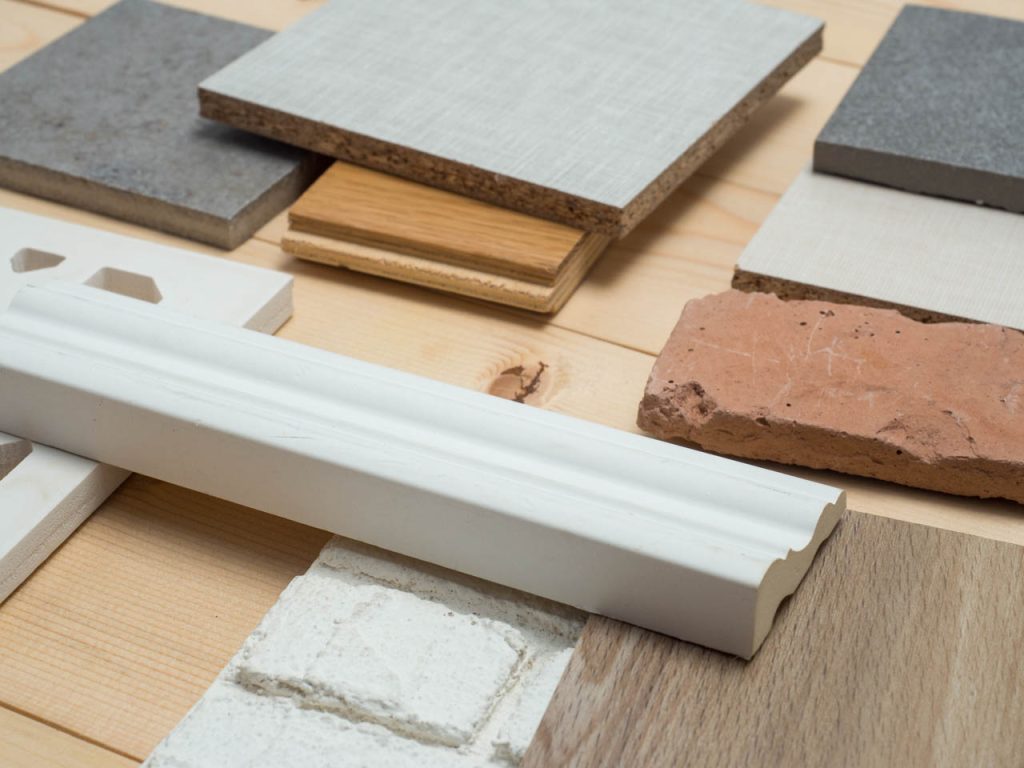
Once you are completely shadow-tested and satisfied with the combination, secure the approval of your building team. Have your architect, contractor, interior designer, and main foreman sign off on the actual physical swatches before making your bulk purchases. This formal step gives your crew the confidence to move forward and gives you total peace of mind that your dream home will turn out exactly the way you pictured it.
Ready to start collecting samples for your next project? Keep following us here on JuanToBuild.com for more practical material reviews, local supplier guides, and budget-saving construction tips tailored for the Filipino home.